Bluestacks for Windows PC: Smartphones have revolutionalized the world in many ways. The concept of digitalization got a boost because of the widely used smartphones such as Android devices, iOS devices, etc. One can find numerous applications for an Android device on the Google Play Store. However, these applications are no longer restricted to the Android operating system. You can now use most of the Android devices on a Windows PC too. This is possible only because of Bluestacks App Player. Bluestacks App Player creates a virtual platform that allows the users to run Android applications on the Windows PC. Various editions of this app player, such as Bluestacks 1, Bluestacks 2, had been launched earlier. However, in July 2017, the latest edition of this app player was launched for its users. Bluestacks is filled with all the features and suggestions recommended by the users and those which were felt necessary by the developers.
Bluestacks for Windows 11 PC
Some of the useful features of Bluestacks 3 are:
#1 This edition is designed for all gamers. This is because people prefer playing games on their PC using Bluestacks since it provides better visuals, external mouse, and keyboard support, which makes the games much more interesting and easier to play.
1 Bluestacks for Windows 11 PC1.1 Some of the useful features of Bluestacks 3 are:2 How to Download Bluestacks on your Windows PC?2.1 Conclusion:
#2 The App Center is the place where you will find all the latest and popular apps to download from. Each app is backed up with its reviews, features, etc. Users can know the app before downloading them from the App Center. #3 While on a smartphone, one cannot use more than one app or play more than one game at a time. However, in Bluestacks 3, a feature known as ‘Multi-Instance Function‘ is added, allowing its users to run more than one app at a time or play more than one game at a time. #4 Minor game settings such as resolution screen fit can be adjusted automatically. However, if you wish to set a particular setting, you can save it for future use. This reduces the need to modify the settings every time you open an app. #5 The user interface of this software is very intuitive and similar to the Android user interface. This feature makes it easier for the users to understand this software’s functioning and reduces their learning time. #6 Almost every app which is available for Android users is available for the Blustacks users. Apps from various categories such as games, tutorials, etc., can be found and are compatible with Bluestacks.
How to Download Bluestacks on your Windows PC?
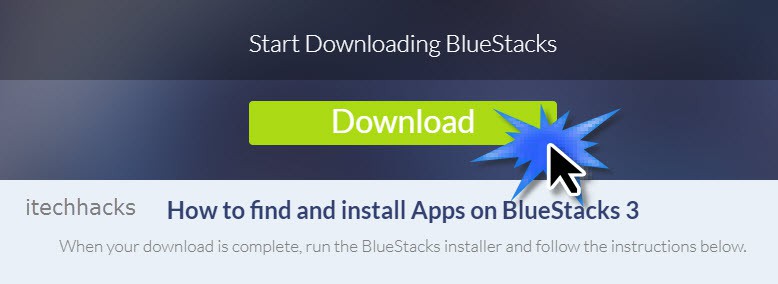
Step 1- Open a web browser on your PC and go to the Download link. Step 2- Click on ‘Downloads‘ to initiate the downloading process of the installer on your PC. Step 3- Once it is downloaded, head to the Downloads section and launch the installer. Some additional files will begin downloading on your PC. Step 4- When all the required files are downloaded, follow the on-screen instructions to install the Bluestacks App Player on your PC successfully. You can now access this tool from the desktop, where a shortcut will be created if you have not disabled the option while installing it.
Conclusion:
There are many such app players available on the market. However, this is one of the best App Player which one can have on their PC. Also, the services provided by this software are completely free to use. Other similar tools charge a hefty price to provide similar features. Thus, we would recommend this app player for all those who wish to run the usual Android apps or play Android games on their Windows PC. If you have any queries regarding Bluestacks for Windows 11, then please let us know about it in the comments section below.

