Disable Visual Effects
The very first thing that you should do is turn off visual effects. Visual effects consume a lot of your CPU resources and can cause performance lags, therefore, you should prefer disabling the visual effects of your PC. To disable Visual Effects, follow the steps given below-
1 Disable Visual Effects2 Disable Startup Apps And Programs3 Turn Off Notifications4 Remove Temporary Files5 Turn On High-Performance Power Plan6 Conclusion
In the Start Menu, search for View Advanced System. Open View Advanced System with Settings written under it.You will be headed to the Advanced tab in the System Properties. Here click on Settings under the Performance section.Now, on the next screen that appears, select Adjust for best performance option.
Similarly, select the Show thumbnails instead of icons and Smooth edges of screen fonts option.Once done, click on Apply and then click on OK.
This will reduce the visual effects on your PC, and should increase the performance of your Windows 11 PC.
Disable Startup Apps And Programs
When you boot your PC it starts with certain apps and processes. A part of your CPU is consumed by these processes and apps when they open up. However, you can disable the startup apps which for sure will help you enhance the performance of your Windows 11 PC. To disable Startup apps in Windows 11, follow the steps given below-
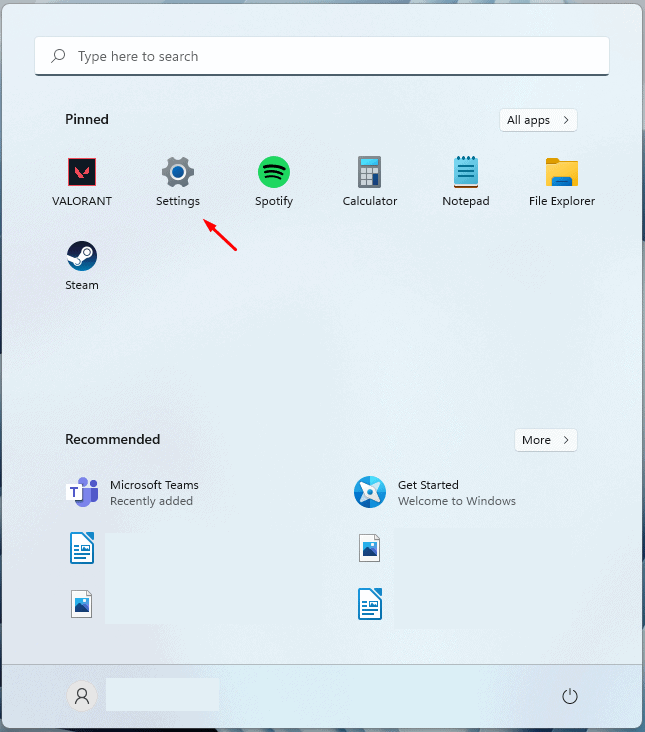
Press the Windows + I key combo on your keyboard to open the Settings app.
In the Settings, head to the Apps section from the left sidebar.Now, on the right side, click on Startup. On the next screen, turn off the toggle for all the apps that have a high impact on your system.
This will disable all the startup apps. Similarly, you will have to disable startup programs as well. To disable the startup programs, follow the steps given below-
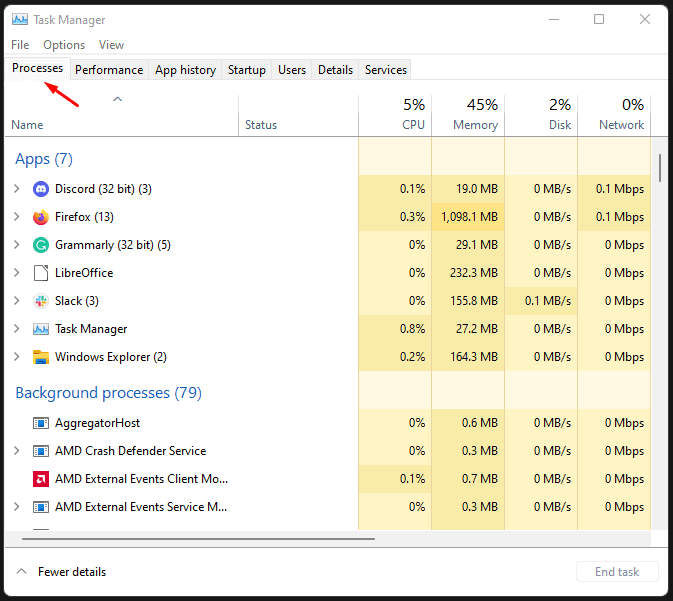
Press Ctrl+Shift+Esc together to open Task Manager on your PC.
In the Task Manager, click on the Startup tab. Now, select any program you want to disable, right-click on it, and then click on Disable. You will have to do this for all the programs available. It would be recommended, that you disable the programs with high impact on your PC.
Turn Off Notifications
Another thing that you can do is turn off the notifications for Windows 11. Notification may not seem to be consuming a lot of your CPU resources, but it does. Not only it does affects the performance of your Windows 11 PC but also consumes battery much faster. You should prefer turning off notifications if you want to fix performance issues in Windows 11.
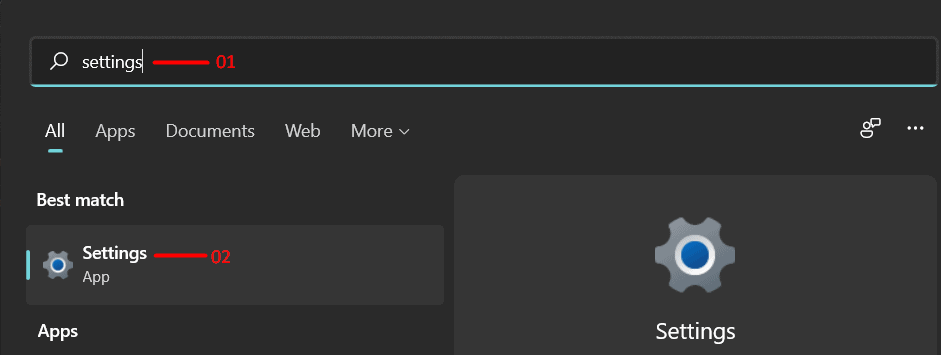
Head to the Settings app on your PC.
On the right side of the Settings, click on Notifications.
Here, you can either turn off all the notifications by turning off the Notifications toggle. You can either turn off the toggle for the particular app for which you want to disable the notifications.
Remove Temporary Files
Temporary files do consume the storage on your PC but it also results in slight performance degrades. If not cleared for too long, temporary files can affect the performance of your PC, therefore, it is essential to clear temporary files after some time.
Firstly, head to the System tab in the Settings app.
Here, click on Storage and then click on the Temporary files option. Now, check the checkbox for all the types of files that you want to remove. Once done, click on Remove files. This will remove all the temporary files on your PC.
If you want your PC to automatically remove temporary files on your PC, then you can turn on Storage Sense. To do so, follow the steps given below-
Head back to the Storage section if you are on the Temporary files in the Settings. Here, turn on the toggle for Storage Sense.
Storage Sense monitors and analyzes your PC for unwanted files, temporary data, and frees up space by deleting such files.
Turn On High-Performance Power Plan
You should also try turning on the high-performance power plan to increase the performance of your PC. Enabling the high-performance power plan will fix performance issues in Windows 11, but it will consume a lot of power. If you are using a laptop, then you will notice a slight decrease in the battery life of your laptop. To turn on high-performance power plan, follow the steps given below-
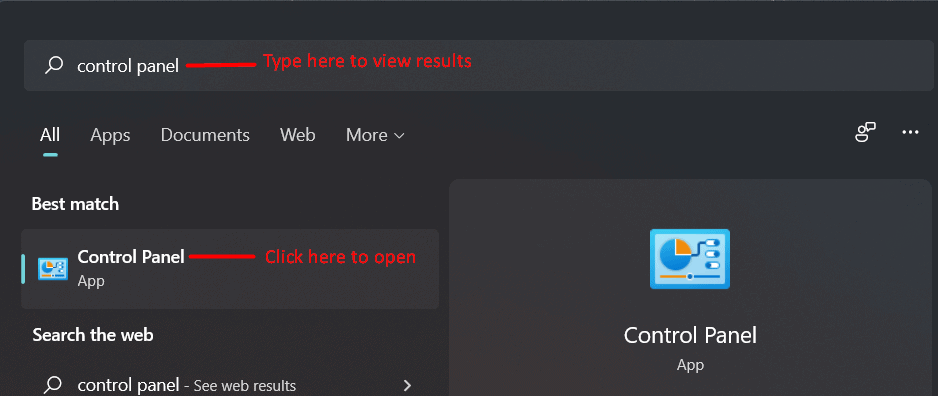
Open Control Panel on your PC.
In the Control Panel, head to Hardware and sound section, and then click on Power Options. Here, click on High Performance to turn on the high-performance power plan.
Note- You can also enable the ultimate performance power plan to get far better performance than the balanced power plan or the high-performance power plan. MUST CHECK:
How To Speed Up Windows 11 and Optimize PerformanceHow To Fix Filmora X Not Working In Windows 11How To Bypass Windows 11 Installation RequirementsHow To Fix Windows 11 Green Screen of Death Crash Error
Conclusion
This is how you can fix the performance issues in Windows 11. If you have been facing performance issues in Windows 11, then you can follow the steps mentioned in this article to fix those issues. If you have just installed Windows 11, and have been facing performance issues, then it may be due to bugs in the operating system. Windows 11 is still new to the market, and it may have certain issues and bugs which may cause performance issues. These bugs will be fixed by Microsoft in later updates.
Δ