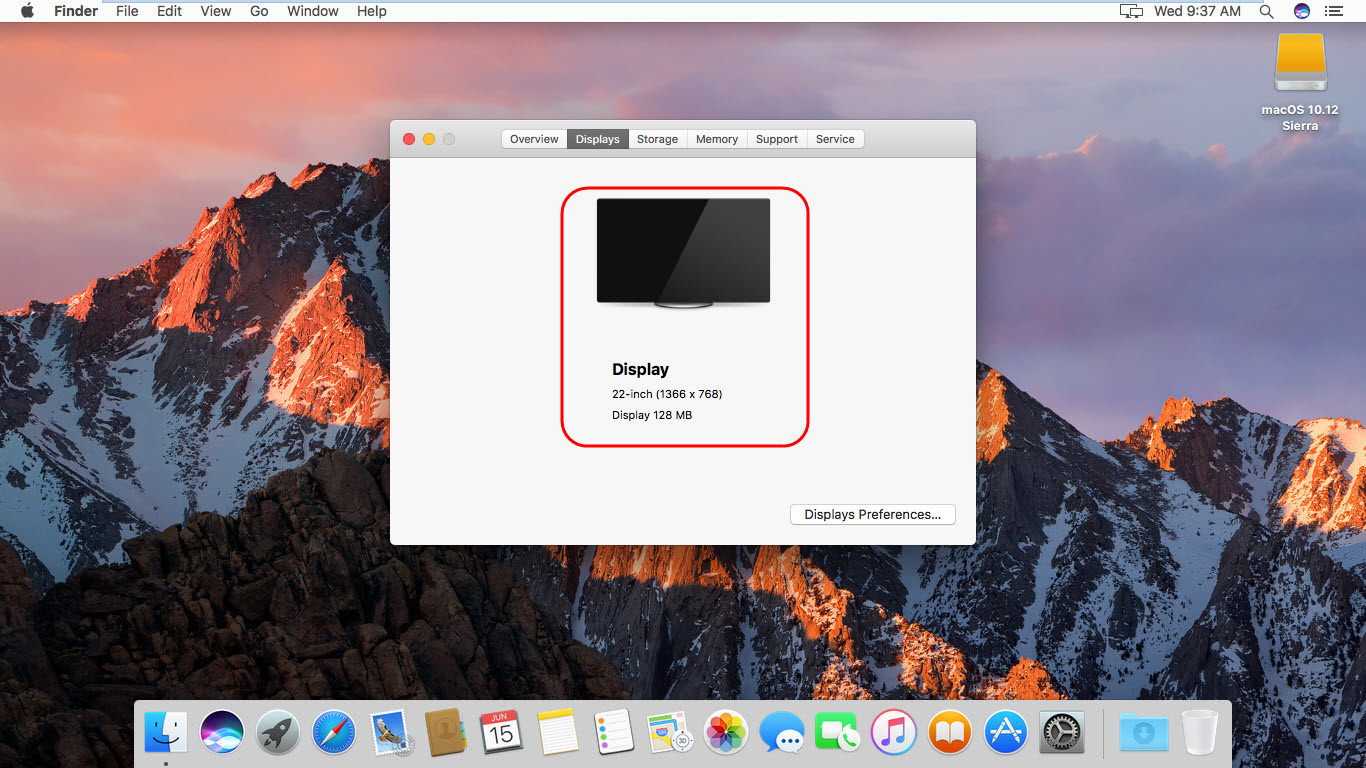
Apple’s Craig Federighi ran through a whole bunch of new features to be included in the revised operating system. He started by mentioning Continuity and Auto-Unlock, which now combine to let you seamlessly unlock a desktop or laptop Mac merely by bringing your Apple Watch close, using what Federighi described as “time-of-flight networking” to detect the watch’s proximity. It was unclear from the presentation whether or not this feature is an Apple Watch exclusive; Federighi did not explicitly say that Auto-Unlock would work with iOS devices. This article will guide to download a pre-made ISO image which is bootable/burned with macOS Sierra 10.12.6 (latest at the time of writing) setup. Then patch VMware with macOS unlocker, create & modify a VM (Virtual Machine) for macOS Sierra, attach the ISO and boot into macOS, Install macOS on the VM and perform a basic macOS account settings. Follow the step by step to install macOS Sierra 10.12.6 on VMware on Windows. Before we get started, let me mention that several versions of macOS have come out since macOS Sierra and we have already created step by step guides to install them on VMware or VirtualBox. So if you want to install the newer versions of macOS then please check out the link below:
Guide to Install macOS Big Sur on VMware (macOS 11) Guide to Install macOS Big Sur on VirtualBox (macOS 11) Guide to Install macOS Catalina on VMware (macOS 10.15) Guide to Install macOS Catalina on VirtualBox (macOS 10.15) Guide to Install macOS Mojave on VMware (macOS 10.14) Guide to Install macOS Mojave on VirtualBox (macOS 10.14) Guide to Install macOS High Sierra on VMware (macOS 10.13) Guide to Install macOS High Sierra on VirtualBox (macOS 10.13)
Related Post:
How to install macOS Sierra on VirtualBox? How to Install macOS Sierra on PC How to Dual Boot Windows 10 & macOS Sierra on PC Post Installation of macOS Sierra on PC
Anyway, here is how to install macOS Sierra 10.12.6 on VMware.
Install macOS Sierra 10.12.6 on VMware
Step 1: Download the Prerequisites
To install macOS Sierra 10.12.6 on VMware using ISO, you need to download the virtualization software like VMware Workstation or VMware Player, macOS Sierra 10.12 ISO Image and VMware Unlocker for macOS Sierra 10.12. All the essential files are listed down below for download.
Download VMware Workstation Pro 15.5.x or VMware Player 15.5.x. VMware Workstation 15 Pro or VMware Player 15 Download VMware Unlocker for macOS Sierra macOS Unlocker – GitHub (Latest Version) macOS Unlocker – MediaFire (3.0.3) macOS Unlocker – MediaFire (2.0.8) macOS Unlocker – MediaFire (2.0.4) Download macOS Sierra ISO macOS Sierra 10.12.6 (16G29) Latest
Step 2: Install VMware on Windows PC
Get the VMware from the link above. Once you have downloaded the VMware Workstation/Player, then Install it on your Windows PC. If you have installed already, then make sure it works properly and updated to the latest version.
Install VMware Workstation Pro 15.5.x or VMware Player 15.5.x
To install VMware on Windows, Run the VMware Workstation Pro/Player setup and follow the prompt leaving all the options as default.
Step 3: Install VMware Unlocker for macOS Sierra 10.12.6
Firstly make sure VMware Workstation application is closed completely otherwise the VMware unlocker won’t work. You can do this by Clicking on File Tab > Exit. You should have downloaded VMware Unlocker for macOS Sierra 10.12.6 from GitHub or the direct link. To Install Patch VMware, extract the VMware Unlocker for macOS Sierra. Right-click on win-install.cmd and select Run as Administrator. This step is very important because you won’t see Apple Mac OS X on the Operating System list while creating a new VM unless you patch VMware with the Unlocker tool. It should have installed the patch file in the VMware for macOS Sierra and newer/older versions of macOS.
Step 4: Create macOS Sierra Virtual Machine (VM)
Step 5: Edit VMX File of macOS Sierra VM (Optional)
Step 6: Install macOS Sierra on VMware
Step 7: Complete Basic macOS Sierra Account Settings
Once the installation part complete, the VM will reboot, and after the reboot, you should see macOS Sierra Welcome page.
Step 8: Install VMware Tools (Optional)
So now you should have noticed that the resolution of macOS Sierra can’t be changed and it’s not working as smoothly as you expected. To fix macOS Sierra Resolution on VMware or Make it more responsive, you need to install something called VMware Tools. It’s quite easy and straightforward to work with any system. So to do that we have created a comprehensive guide. Please click the link below and follow the guide Step by step. See this guide: How to install VMware Tools on macOS Sierra.
Summary
Basically, in this article, I’ve shown you the step by step pictorial guide on how to install macOS Sierra 10.12.6 on VMware using ISO on Windows. After reading and following this guide, you should have done the following:
Download the prerequisites Install VMware on Windows PC Install VMware Unlocker for macOS Sierra 10.12.6 Create macOS Sierra Virtual Machine (VM) Edit VMX File of macOS Sierra VM (Optional) Install macOS Sierra on VMware Complete Basic macOS Sierra Account Settings Install VMware Tools (Optional)
It was all about, how to install macOS Sierra 10.12.6 on VMware. If you faced any problem tell us below by the comment, feel free to say us. We’re waiting for your suggestion.


